When granting permissions to a compute cluster (compute access control), it is possible to grant permission to the following entities:
- Users
- Groups
- Service principals (Azure only)
Instructions
Create a service principal and add it to your workspace
Option 1:
Follow the Add service principal API documentation to create a service principal and add it to your workspace.
Option 2:
Run this example code in a notebook.
%sh

curl --location --request POST 'https://<databricks-instance>/api/2.0/preview/scim/v2/ServicePrincipals'; \
--header 'Authorization: Bearer <access-token>' \
--header 'Content-Type: application/json' \
--data-raw '{
 "schemas":[
  "urn:ietf:params:scim:schemas:core:2.0:ServicePrincipal"
 ],
 "applicationId":"<azure-application-id>",
 "displayName":"<display-name>”
}'
Replace the following values before running the example code:
- <access-token> - Your Azure Databricks personal access token. If you do not have an access token, you will have to create one.
- <azure-application-id> - The Azure application ID of the service principal, for example 12345a67-xxx-0d1e-23fa-4567b89cde01.
- <databricks-instance> - The workspace instance name, for example adb-1234567890123456.7.azuredatabricks.net.
- <display-name> - The display name of the service principal, for example service-principal-dbuser@azure.com.
Add the service principal to your compute ACL
After the service principal has been added to your workspace, you have to add it to your compute.
- Click Compute in the left menu bar.
- Click the name of your compute cluster.
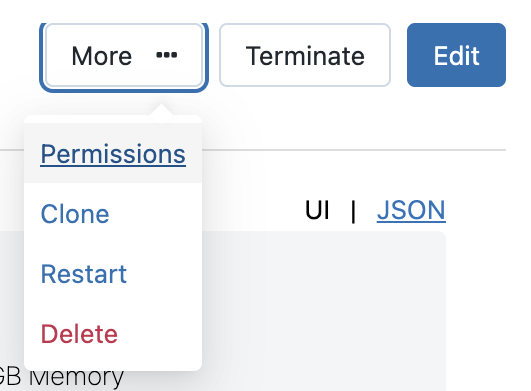
- Click More.

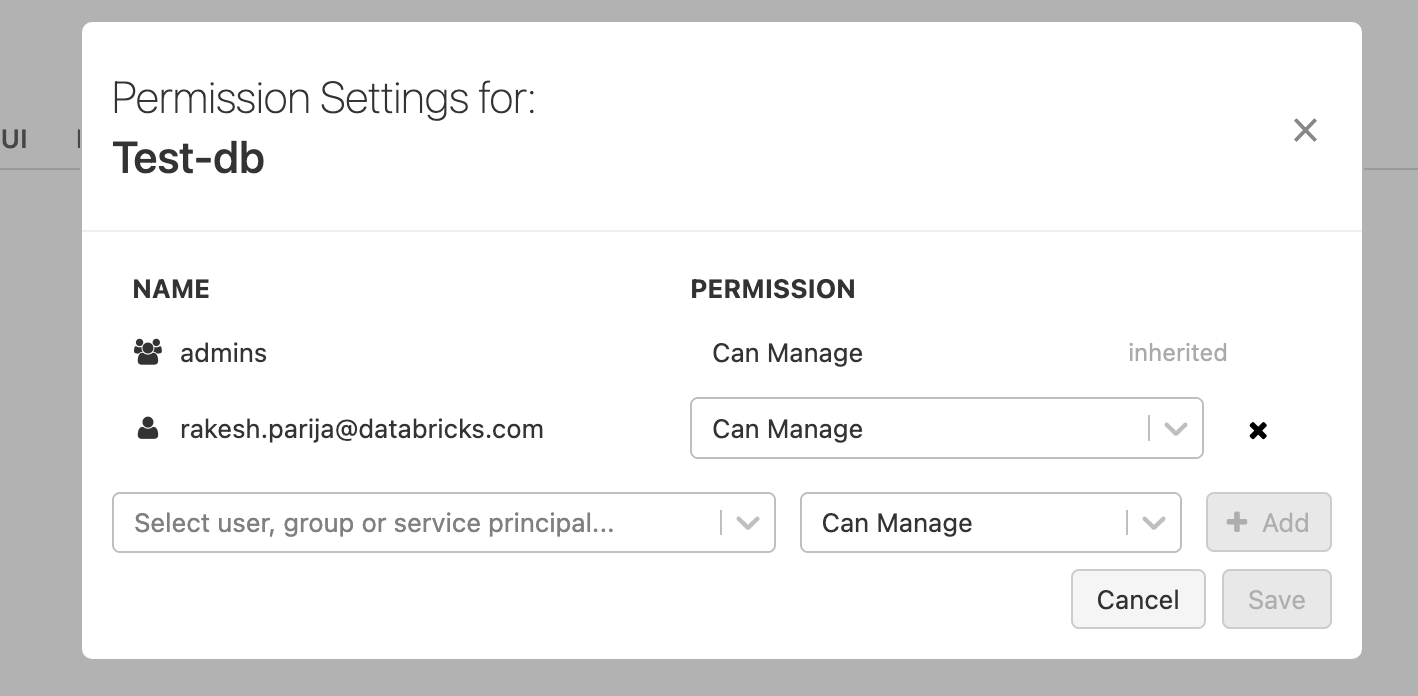
- Click Permissions.
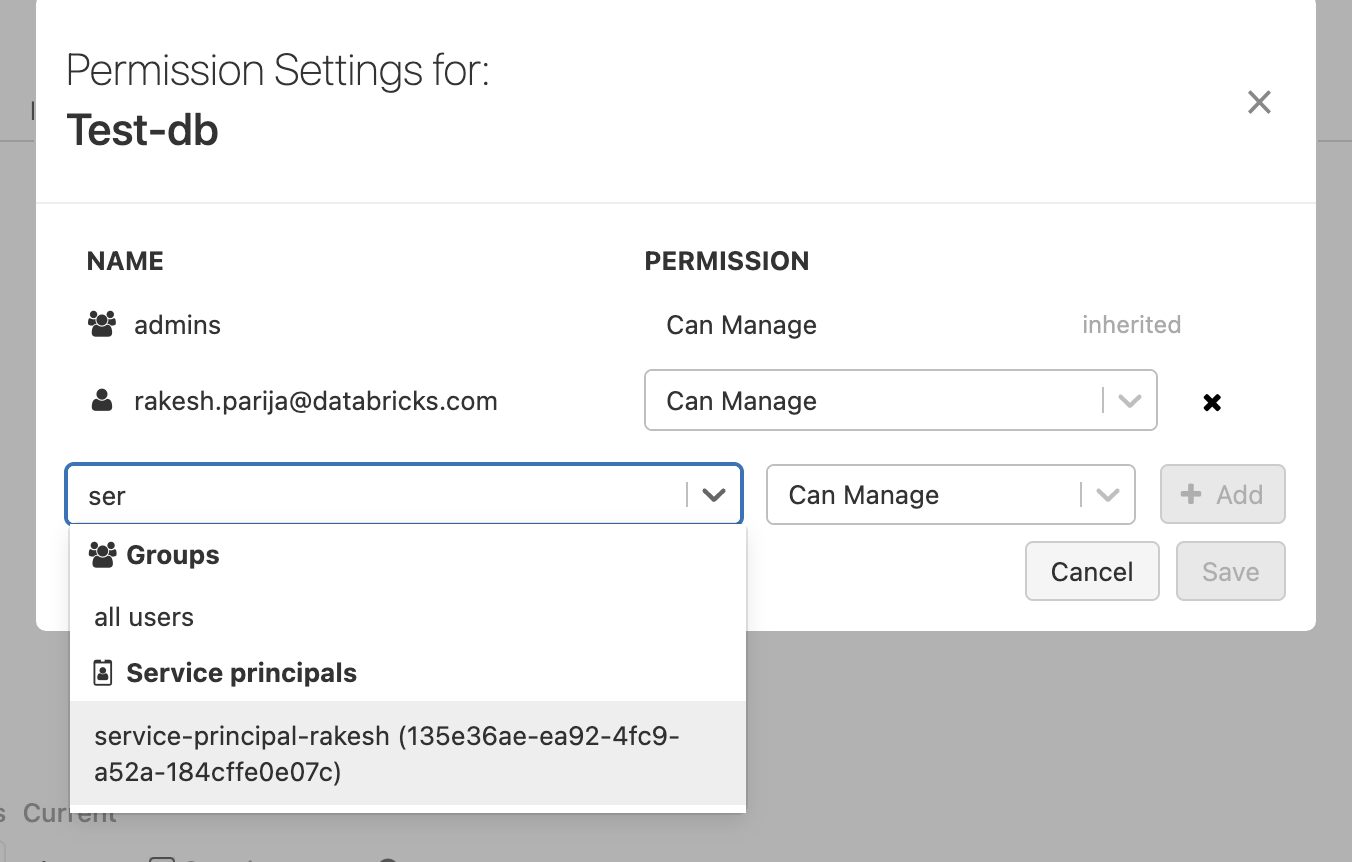
- Click the Select User, Group or Service Principal drop-down.

- Select the service principal you created in the previous step.

- Select the permission to assign to the service principal (ex. Can Read, Can Manage).
- Click +Add.
- Click Save.
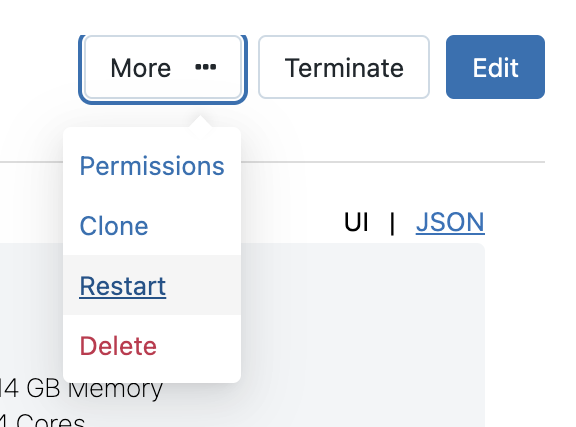
- Click More.

- Click Restart.
- Click Confirm to restart the compute cluster.